How to generate hundreds of pre-signed contracts in minutes
Build one template, add your details to a spreadsheet, and let fynk generate up to 200 personalized, pre-signed contracts in a few minutes.
Video transcript
Click any line to jump thereHave you ever needed to send the same contract to dozens of different people? I'll show you how to create up to 200 freelancer contracts at once in fynk. And the best part? Every contract can already include your signature.
Let's say you run a marketing agency and you're preparing for a large product launch. You've hired50 freelancers to create content for Instagram, TikTok, and LinkedIn. Each freelancer has different contract details, fees, deliverables, platform requirements, and etc. Normally you would copy the contract 50 times, update every version, adjust the clauses, sign each document, and send them one by one, and then follow up theEach of these fifty freelancers for signature or reminders
With fynk, you build one template, add the freelancer details to a spreadsheet, and let the automation create every personalized contract for you. Let's show you how. First, we need a contract template. You can create one from a scratch or upload the document you already use. I already have a freelancer argument template as a word file so I'll upload it here. fynk shows me a preview as soon as the upload finishes, I can check the layout and fix the formatting before I turn it into a reusable template.
The contract itself stays mostly the same, only a few details change for each freelancer. Their name, address, platform, number of videos, fee, and signing information.
Instead of typing those details into every contract, we'll replace them with dynamic fields. A dynamic field in fynk is just like these placeholders, only smarter. When we run the automation later, fynk takes the correct value from the spreadsheet and inserts it into the right place. We define each placeholder once and every generated contract fills itself in. Before we replace the placeholders, we need to set up the two sides of the agreement. And view as a company and a freelancer. To do that, you have to go to the Parties and Signatory tab and click on Add New. I'll add the company first. I can select an existing company or create a new one by entering its name and address. I've already added fynk Academy, so I'll select it from the list. Next, I choose the person who signs for the company. In this example, I'm just going to assign it to this user, so I'll select her and save the party. The second party is the freelancer. To add the freelancer, we'll do the same. So click on add party again, but this time I'm going to choose the third option since I don't know yet if the freelancer works as a company or is an individual. You don't need to provide any information yet because all of the information will be provided later in the spreadsheet. So for now just add a reference name. It could be anything. I'm just gonna add freelancer and hit save. You can see here that both of the parties are added and if we go back to the document content, Scroll down a little bit. We can see that Fing has created two sets of fields for both parties. These include basic information about your party like their name, addresses, references, and signature blocks. Think of them as a special type of dynamic field because they are the bare minimum for any type of agreement. Now that we have these fields, we're going to replace them with the static placeholders. Let's start with the freelancer's name. So I just remove the placeholder. I'll replace that with the name field from the freelancer party fields. Then I'll do the same for the address. If you scroll up here a little bit, you can see different types of dynamic fields that fynk offers. These includes currencies, dates, tables, or durations. Here, if I want to create a dynamic field for effective date, naturally I would choose a date field.
I name it effective date and tell thing to fill it automatically when signing starts.
For the remaining information I'll use the field type that matches the value. So I'm going to do the same for the number of videos and use the field number.
For the fee I would use currency,
Different fields keep the data structure, they also make the spreadsheet easier to complete later. Up until now, our template is designed in a way that all of the contracts will be exactly the same except for the dynamic fields. But what if the contract for Instagram freelancers should have an extra clause than those that you create for TikTok or LinkedIn?
That's exactly what conditions are for. Think of condition as a simple rule. If the platform is Instagram, show the Instagram clause. I will show you how.
I will add a new dynamic field for the platform name and add the three options Instagram, TikTok, and LinkedIn.
Then I would add three different clauses per platform, one for Instagram, one for TikTok, and one for LinkedIn.
You will see all of them while we are editing the document, but the final contract we only show the matching one. So let's start with Instagram. I will highlight the Instagram clause. and click on this button here which creates a new condition.
I give this condition a name like Instagram Clause and as the data source you can choose any of the dynamic fields that you've created but in this example we should add platform
As a rule I would say if the platform equals Instagram, show diskles. I repeat the same process for TikTok and LinkedIn. Now fynk can choose the right clause for every freelancer without anyone editing the contracts manually.
Now it's time to add the signature blocks. If you go down to the signature section, we can see that there are some signature lines here with the information of the signatories, but we actually don't need any of these.
So I will remove all of these lines and place the signature blocks from the party fields right here. And here's my favorite part. Now I can sign the company side directly in the template. So I would just click on my signature block here and choose Add My Signature. I can draw, type or even upload my signature, but I'm just going to go ahead and draw my signature and hit save. And this is not just an image placed on the page. fynk creates a proper electronic signature and includes the signing certificate once all parties sign. And from now on, every single contract created from this will carry my signature with it. And remember, only add the signature after you finish editing the template. As soon as you sign, fynk locks the content so that it protects the integrity of your signature. However, if for any reason you need to edit it again, just remove the signature here, do the edits, and sign it again.
With the signature in place, we can now publish the template and go to the automation hub where the rest of the magic happens.
I'll click create automation and give it a name. Let's call it freelancer contracts. Then I'll select the template we just published, choose the correct team for this set of contracts, and maybe a, and then hit continue.
Which leads us to the automation hub.
The Automation Hub now guides us through the process. First, I have to download a spreadsheet. Every column in this spreadsheet matches a field in the template that we just built, and every row becomes one contract. So if I add hundred rows, thing creates hundred contracts. I'll enter each freelancer's name, email address, any other required information. I'll also leave the effective date empty because we told fynk to add it when signing starts. I have filled the spreadsheet and now I'm ready to run the automation so I go back to the automation hub and I upload my spreadsheet here. If everything looks good it'll turn green. Then I'll start the automation.
fynk is now creating one contract for every row in the spreadsheet. It usually takes a few minutes depending on how large your batch is, but the process is still much faster than creating and editing every contract by hand.
The automation has finished and all the contracts appear here as drafts.
Let's open one to check it out.
We can see that fynk has filled in the freelancer's name and other details. And if we check the conditions, the contract also shows only the clause that matches this freelancer's platform. The conditions hide the other clauses as well. At this point, the contact is fully personalized, pre-signed, and ready for the next step.
From here, we have two options. We can send the contracts for review first. This works well when a colleague or manager needs to approve them before they go out. You can also automate this using fynk, of course. Or we can send the entire batch directly for signing. With one action, fynk sends every contract to the correct freelancers. They receive a sign-in link by email and complete the process without needing a fynk account. And that's how you create up to 200 pre-signed personalized freelancer contracts in just a few minutes. Thanks for watching and I'll see you in the next tutorial.
The goal
Generate a full batch of personalized contracts that are already signed on your side and ready to send. You set this up once.
- Build one reusable template
- Add each recipient’s details via spreadsheet
- Run one automation to create every contract

Build your contract template
Start from one template that every contract shares. Build it in fynk or upload a document you already use, then add the two parties, your company and the recipient, from the Parties and Signatory tab. Leave the recipient’s details empty, since they arrive later from the spreadsheet.
Wherever a detail changes from one contract to the next, like the name, fee, or number of deliverables, replace it with a dynamic field. Match the field type to the value: a date field for the effective date, a number field for quantities, a currency field for the fee. That keeps your data structured and the spreadsheet easy to fill.

Show the right clause with conditions

Pre-sign the template

Generate every contract from a spreadsheet

Review, then send the batch

What makes it fast?
One template covers the whole batch
Every contract pre-signed on your side
The right clause is picked automatically
Up to 200 contracts in a few minutes
"Being able to create one contract and send it to many people at once is a complete game changer. It removes dozens of manual steps I no longer have to think about."



Frequently asked questions.
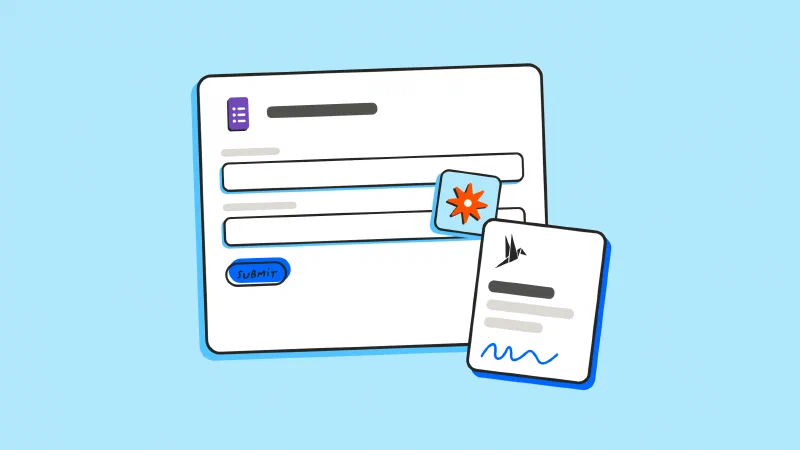
You can generate up to 200 contracts in a single automation run. Each one is built from the same template and personalized with the data in its own spreadsheet row.
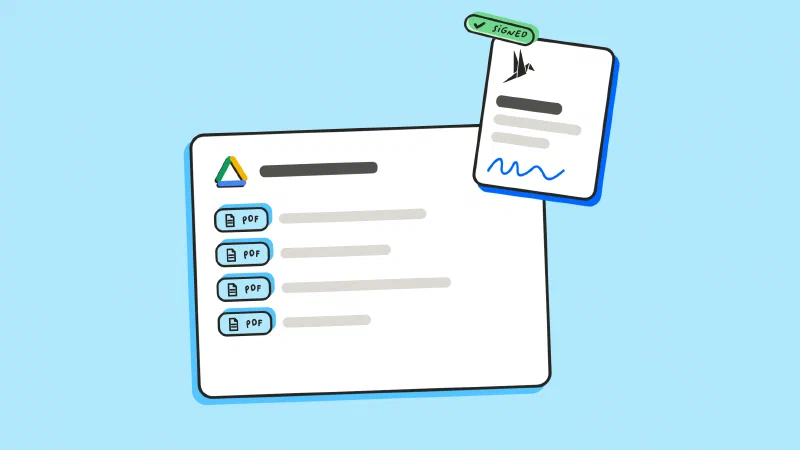
No. You sign the template once, and every contract generated from it carries your signature automatically. Only the recipient needs to sign after you send the batch.
Use conditions. Add a dynamic field like platform, write a clause for each option, and set a rule so each finished contract shows only the clause that matches, with no manual editing.
No. Each recipient receives a signing link by email and can complete the signature in any browser without creating an account.
Still have questions?



Take control of your agreements. Move your business forward.
Run agreements the way they should run: fast, clear, and on your terms.
No setup headaches
Go live in days, not quarters
No lock-in
Full export anytime
No hidden fees
Signatures included, no envelope fee